The past few years have been incredibly turbulent for businesses. The stresses of an unstable economy, supply chain issues, and inflation have put companies through the wringer.
Further adding to the stress? Customer expectations have shifted. People are fully aware of the data companies collect about them—and they want to see results. In fact, a recent study by Salesforce found that 80% of customers say their experiences should be better considering all the data companies collect. Ouch.
All the while, employees have had to do more with less while being asked to experiment with new digital tools and AI that’s still—frankly—risky and confusing.
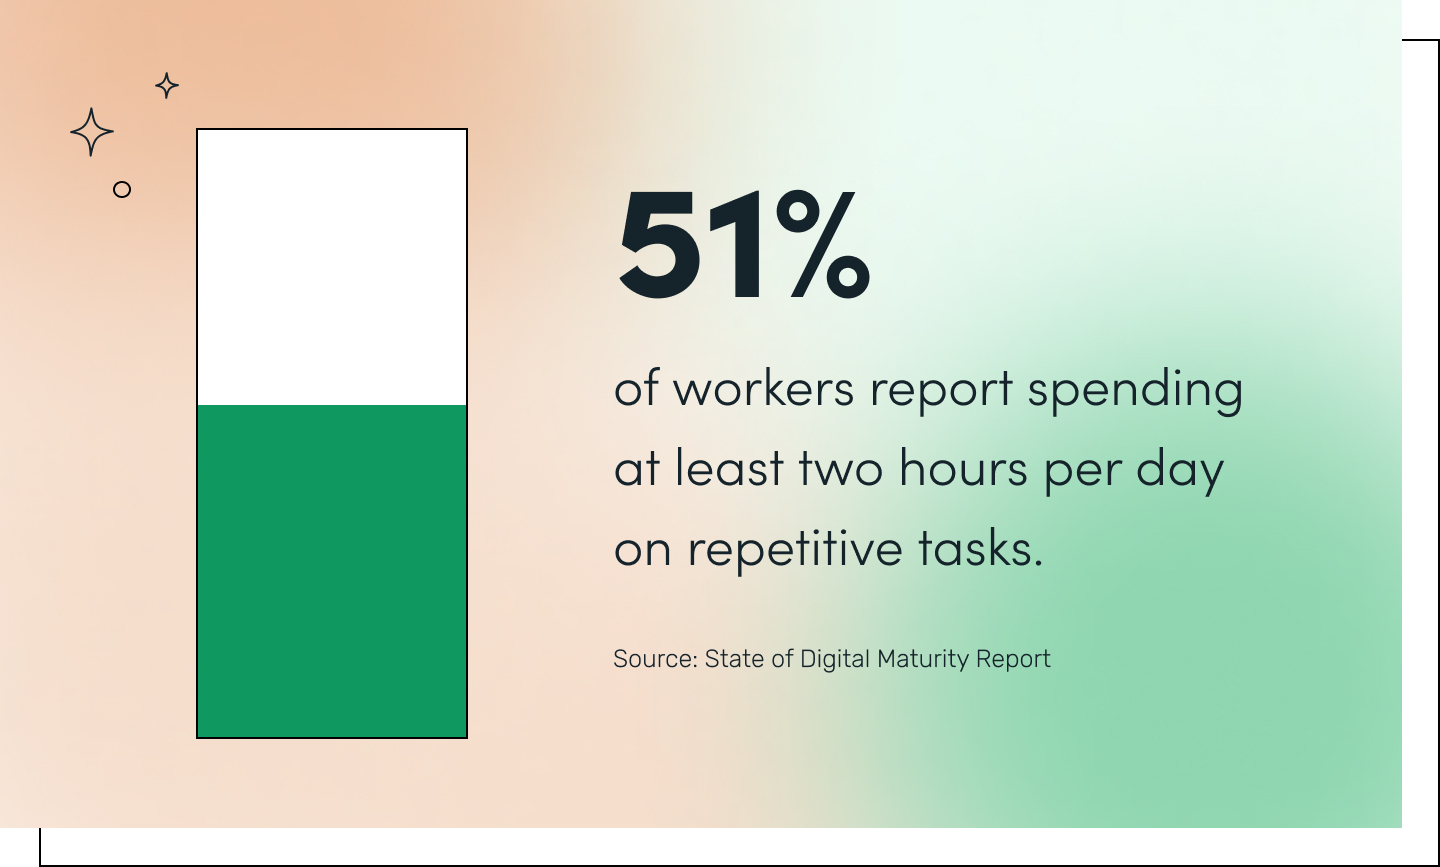
But Formstack’s State of Digital Maturity report reveals businesses are still struggling to simply digitize. In fact, only 15% of orgs are fully transformed. And 51% of workers spend at least two hours per day on repetitive tasks.
How can businesses digitize and meet changing customer and economic demands when employees can barely keep up?
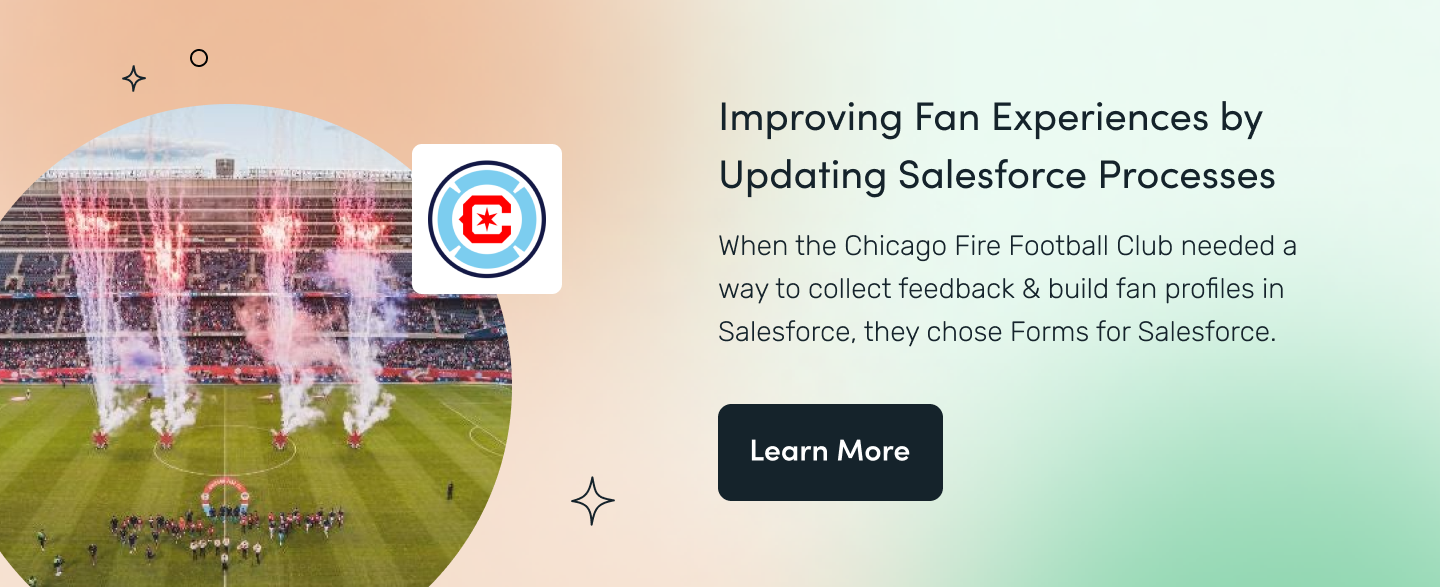
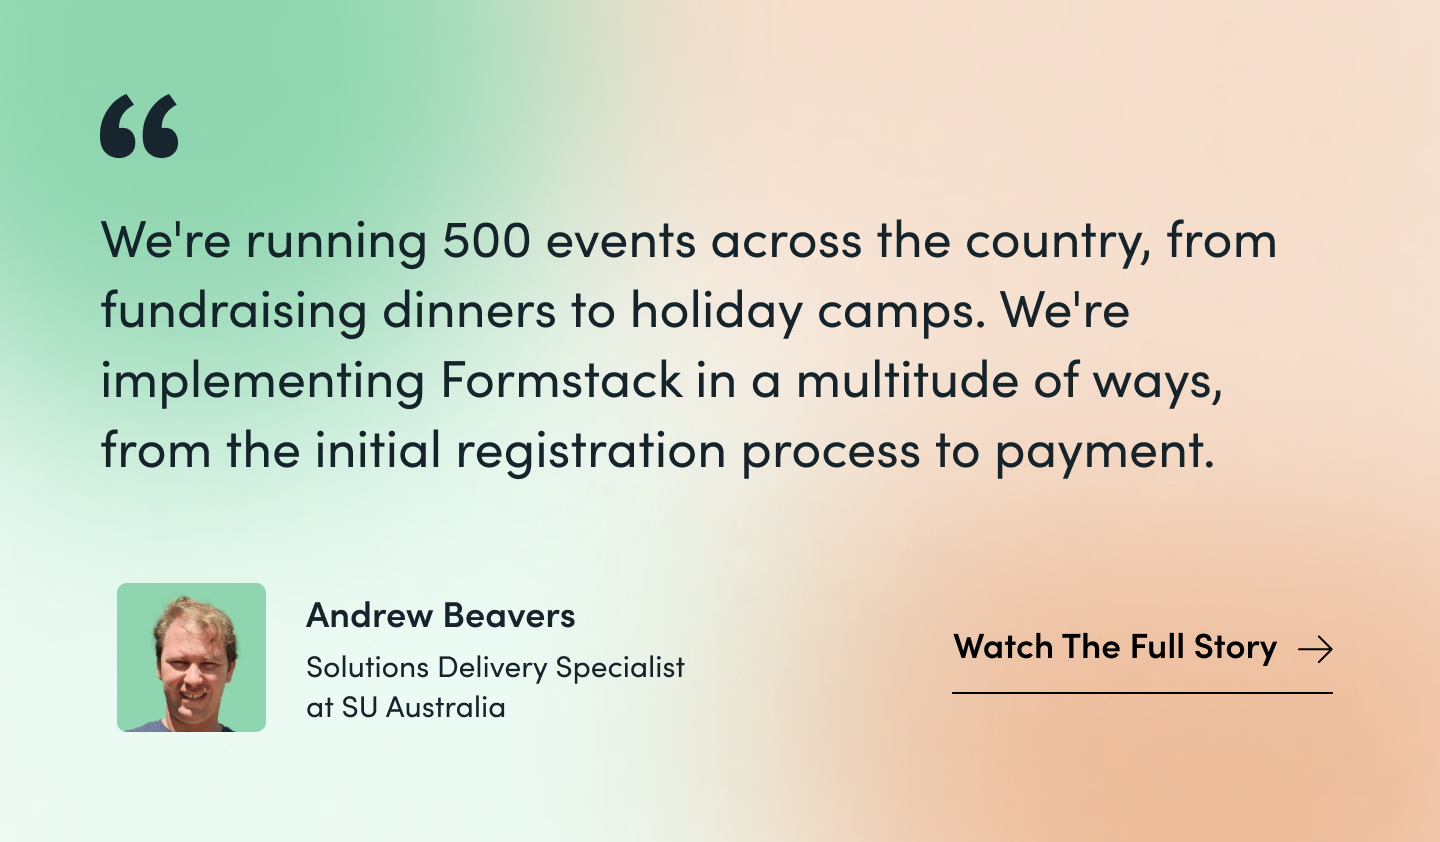
Organizations like Plexus Worldwide, USA Sport Group, SU Australia, and America’s Christian Credit Union aren’t just surviving—they’re thriving. How? Through the power of workflow automation, which not only digitizes processes, but helps you do more with your existing tech stack. Learn how the Chicago Fire Football Club saved 15-20 hours per week of manual work with Forms for Salesforce:
In this business process automation guide, we provide eight real-life examples and step-by-step guidance that shows how you can easily digitize the processes your company encounters every day.
The Benefits of Business Process Automation
Automating your business workflows isn’t just about “getting with the times.” It’s about preventing repetitive tasks, moving faster, and letting your employees get back to the skillful work only they can do. This makes your company more organized, more flexible, and more adaptable to changes in the market or new customer demands.
Take customer service, for instance. In the age of online shopping and two-day delivery, customers now expect on-demand access and immediate service for everything. There’s no room for complicated processes and delays. In fact, research by PwC found that nearly one in three customers (32%) will leave a brand they love after just one bad experience. If you require customers to fill out lengthy paperwork, manually enter data they’ve likely provided before, and wait for a response, you create negative experiences that will eventually lead to churn.
Customers aren’t the only ones who expect digital innovation and ease. Employees are just as likely to want digital-first experiences that eliminate paper pushing. Whether they work in HR, sales, operations, or IT, employees want to be free from manual work and paper processes. Already, 72% of workers think inefficient processes negatively impact their job. They report higher levels of frustration, stress, and dissatisfaction as they’re forced to devote their time to mindless, repetitive tasks instead of impactful work. How much time exactly? An average of two hours per day, according to our research.
But the negative impacts of manual work don’t stop there. If the average employee income is around $63,932, just one employee wasting two hours per day on inefficient tasks costs your organization about $15,985 a year. For an organization of 100 employees, that adds up to nearly $1.6 million. Is there room in your budget for that labor cost?
Luckily, automating your business process workflows doesn’t require a massive budget, timeline, or IT team. All you need is the right technology and a bit of guidance. That’s what this guide is here to provide.
How to Automate Business Workflows
Every team across your organization can reap the benefits of automation, from sales and marketing to HR and IT. With Formstack, you can easily build fully automated workflows that address the evolving needs of customers and employees.
The Formstack Suite empowers anyone at your company to achieve more in less time. With digital forms, document generation, and eSignature collection, you can quickly create solutions and automate busywork in one easy-to-use visual workflow builder. From completing daily tasks to creating org-wide systems and processes, you can build the workflows you need without relying on IT or needing to know how to code.
And with the addition of AI (that’s actually helpful and easy to use), the possibilities are endless. AI makes building workflows fast and seamless, empowering any team member (regardless of technical aptitude) to build digital experiences.
We specialize in helping organizations streamline critical business processes, which leads to better data management and higher ROI across teams and departments. Here’s how to use business process automation to improve workflows, save time, and impress customers.
So, where do we begin? That largely depends on your organization. If you are one of the thousands of customers that primarily leverages the Salesforce ecosystem, we have built a native product specifically for you. Let’s discuss Forms and Docs for Salesforce, and why these products will not only improve your enhance productivity and the customer experience, but also provide an extra layer of data integrity and security since you are operating without a bidirectional integration.
The Power of Formstack for Salesforce
Forms for Salesforce
We’ve built an easy-to-use and quick-to-implement native Salesforce forms solution that allows you to securely collect and manage data all within your Salesforce org. Fully customizable forms are built and managed directly within Salesforce, eliminating the need for integrations or logging into other applications.
Why Native?
Most tech platforms offer their customers integrations with other software. It’s just good business to help people access their data easier across platforms.
What makes Formstack for Salesforce special is that unlike a typical API integration, we’ve natively built Formstack Forms capabilities directly into the Salesforce platform. This means it’s designed to seamlessly work with Salesforce, leveraging its data model, security features, and user interface without the need for external middleware or additional integration tools. This provides a more streamlined experience, better performance, and easier maintenance since it operates entirely within the Salesforce ecosystem.
Many technology solutions say they’re built to be “native,” but they really only support bidirectional integration. Bidirectional integrations allow for data flow between Salesforce and low-code application platforms, however they often require extensive setup, mapping, and ongoing maintenance to ensure both systems remain in sync. They can also present additional security and compliance vulnerabilities.
Benefits
- Native
- Localized to your Salesforce org
- Secure and Salesforce compliant
- No-code form solution
- Easy to use and train on
- Quick to implement
The most clear cut and simple use case to discuss with Forms for Salesforce is native data capture within your Salesforce instance, but you also have the ability to collect digital signatures and store data in a HIPAA compliant manner. F4SF keeps data localized in the Salesforce ecosystem so users can always be in control of their data and not worried about who may have access to it. But don’t take our word for it, here are what AppExchange users are saying about how Forms for Salesforce can keep your data as a single source of truth.
AppExchange Customer Review
“One major hurdle with other form tools is the need to map form fields to Salesforce API fields. With Formstack, that's not necessary. Additionally, Formstack is all administered and managed INSIDE of your Salesforce org. Other form tools will require you to login to their website, create an API connection to Salesforce, manage the form inside their website, and then also set up a mapping. Formstack keeps your client inside of Salesforce, their single source of truth.”
Documents for Salesforce
Formstack Documents for Salesforce is a robust and easy-to-use solution for document generation and automation that integrates with Salesforce. Its flexibility and breadth of features supports all use cases and business process needs, from proposals to contracts and invoices. The seamless integration with Salesforce is supported by a powerful mapping feature, making it quick and efficient for you to configure data routes and mappings.
Benefits
- Fast document mapping
- Effortless field location
- Merge field creation within document template
- Caters to a wide array of document use cases
- Compatibility across all Salesforce objects
AppExchange Customer Review
“Formstack Documents is a game-changer for document generation, especially within Salesforce. It’s incredibly versatile, yet easy to use, making complex tasks a breeze. The app's robust functionality ensures it can handle any situation, from data routes to SOQL mappings.”
Of course, not all of our customers conduct their business entirely within the Salesforce ecosystem. The classic Formstack portfolio provides a simple user interface for building forms, documents and collecting digital signatures. This is where we help you bring data to life with simple workflows that can streamline anything from hospital patient intake to soliciting alumni donations in the higher ed space. This automation is the core of our value proposition, we will save your employees time, elevate the customer experience and free up valuable resources that save you money in the long run. Let’s look at eight examples of how workflows can be used to make your life easier.
8 Examples of Business Process Automation
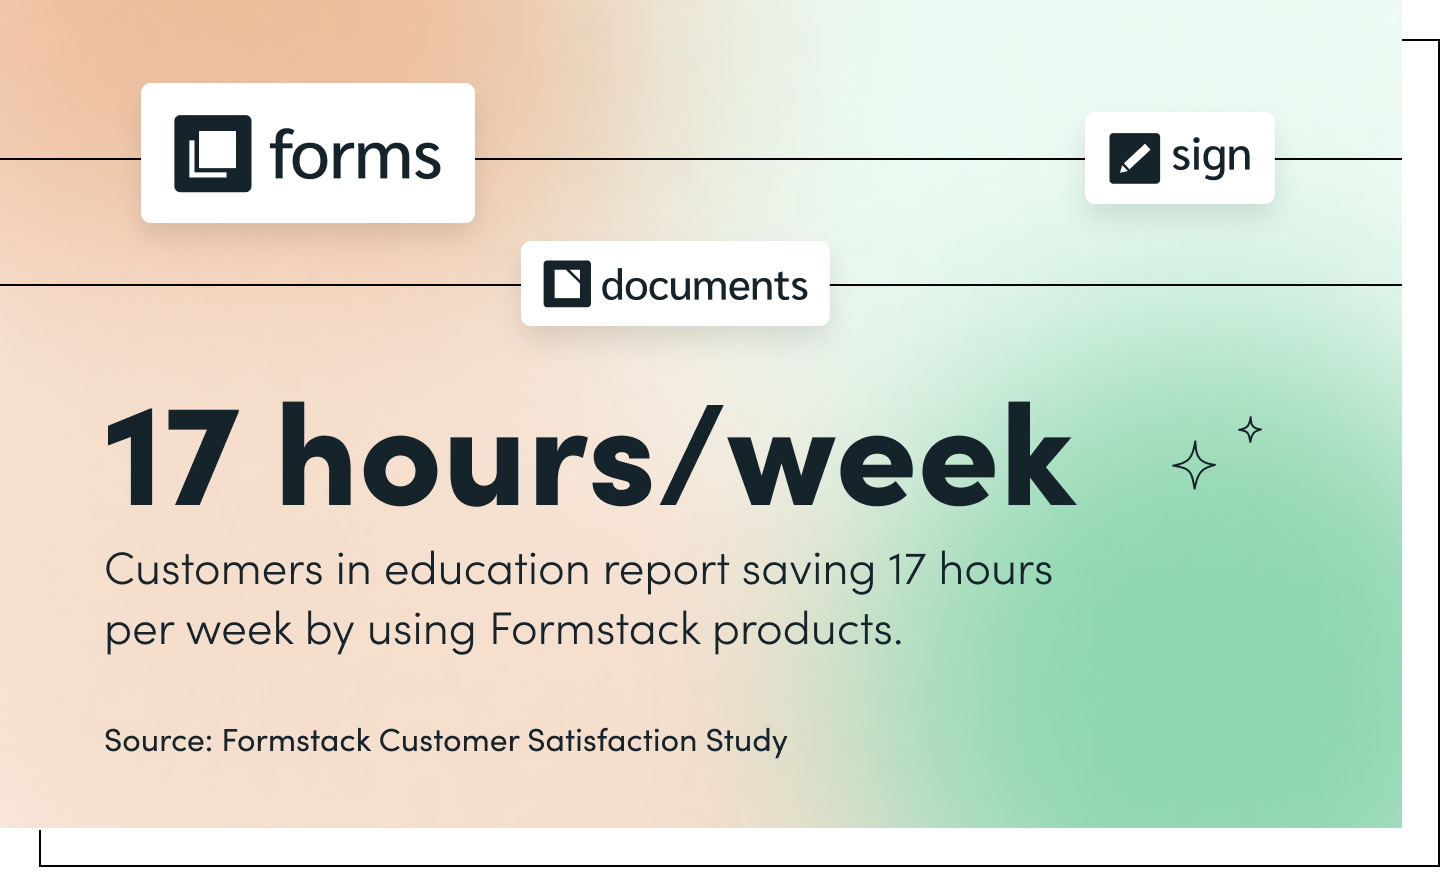
You don’t have to waste countless hours each week copying and pasting data, preparing paperwork, searching for files, sending emails, and entering data. By implementing the business automation workflow examples below, we estimate you can save around 17 hours per week.
What can you do with all that extra time? Focus on impactful work that improves not only your workday but the experiences of customers and colleagues. Let’s get started.
#1 New Customer Onboarding and Welcome

Customer experience greatly impacts retention rates, no matter the product or service you sell. In fact, more than half of customers say they’ll switch to a competitor after one bad experience. That means first impressions matter. Quickly engage with prospects and make new customers feel welcome with this new customer onboarding and welcome workflow. Automate every step of the process, from initial inquiry to signing agreements.

Products: Suite
Features: Conditional Logic · Themes and CSS · Electronic Document Signing
Templates: New Customer Registration Form · New Customer Welcome Letter · Customer Satisfaction Survey
Optional Integrations: Salesforce · Microsoft Dynamics · Lob
Step 1: New Customer Acquisition
Create beautiful, branded online lead forms that are fully mobile-optimized and embeddable on your website. Invite new customers to contact sales, apply for membership, or request a quote. Then, use Conditional Logic to sift out unnecessary questions, improving the first-time customer experience and resulting in a shorter form. Apply conversion optimization techniques to identify bottlenecks, track campaigns, and capture data as it’s entered. Once the new customer submits the form, trigger automatic responses in seconds with personalized emails that show you know who they are and want to continue the relationship.
Workflow Tip: Salesforce user? Try this workflow with our native Formstack for Salesforce product, creating a single source of truth for your forms, documents, and eSignatures in your Salesforce org.
Step 2: Welcome Packet and Letter
Really want to impress your new customers? Personalize a customer welcome packet using their form data to generate Documents like compliance disclosures, contract details, or member agreements. You can even save your team up to 24 hours per week using AI to generate document-specific content like a welcome letter featuring information your customers will find helpful.
Step 3: Customer Sign-off and Survey
Make your legal, accounting, and compliance teams happy by getting customer signatures on agreements and contracts with secure electronic signature fields. Once customers return the signed onboarding materials, automatically store them in your CRM or drive with one of our many integrations. After 30 days, consider sending a customer satisfaction survey to find out how newcomers feel about your onboarding and what you can do to improve.
#2 Invoicing and Payments
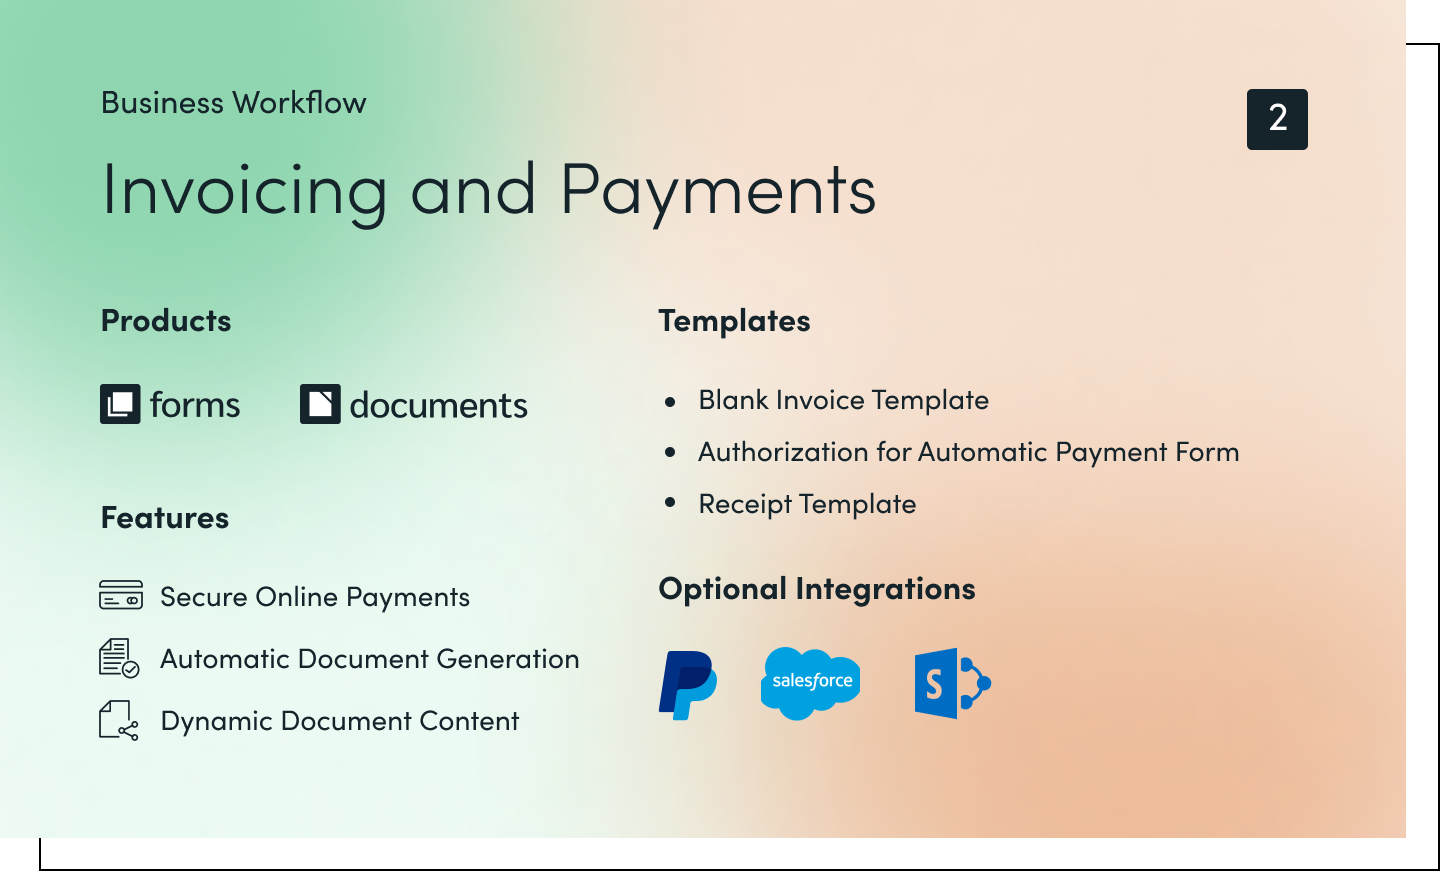
Stop shuffling paper and working in silos. Streamline your back office efforts with a single, simplified invoicing process. Securely accept online payments with branded forms and automatically generate receipts and thank you letters. Impress customers and make life easier for your finance team by automating everything from invoice creation and payment collection to receipt generation and customer follow-up.
Products: Forms · Documents
Features: Secure Online Payments · Automatic Document Generation · Dynamic Document Content
Templates: Blank Invoice Template · Authorization for Automatic Payment Form · Receipt Template
Optional Integrations: PayPal · SharePoint · Salesforce
Step 1: Invoice Generation
Simplify invoicing by automatically pulling in data from systems you already use, like Salesforce. Formstack Documents helps you create sleek, professional invoices without requiring any copying, pasting, or coding. Then, choose from multiple delivery options to quickly send invoices to customers and automatically save copies in your CRM or cloud-storage app.
Step 2: Secure Online Payment Collection
Improve the customer experience by letting them quickly, easily, and securely submit payments through a mobile-friendly online payment form. Choose from our payment integration options like PayPal or Stripe, and rest assured that your customers’ billing information is safe with PCI-compliant forms. Create multiple versions of your standard payment form, or use Smart Lists to manage field options for different business locations or sub-brands across multiple forms.
Step 3: Receipt Delivery and Thank You
After you receive payment, automatically send a clear, concise, and personalized receipt straight to a customer’s inbox in minutes. You can even save a copy for yourself in your cloud storage or CRM for easy filing. Add an extra layer of security to your invoice workflow with data encryption—no additional coding necessary. If you invoice quarterly, consider adding a personalized thank you note from their account manager with the Email Notifications and Confirmations feature.
Workflow Tip: You can add a new campaign to Salesforce simply by creating a form using a campaign object. When the form receives a new data submission, it will automatically generate a new campaign record.
#3 Event Registration
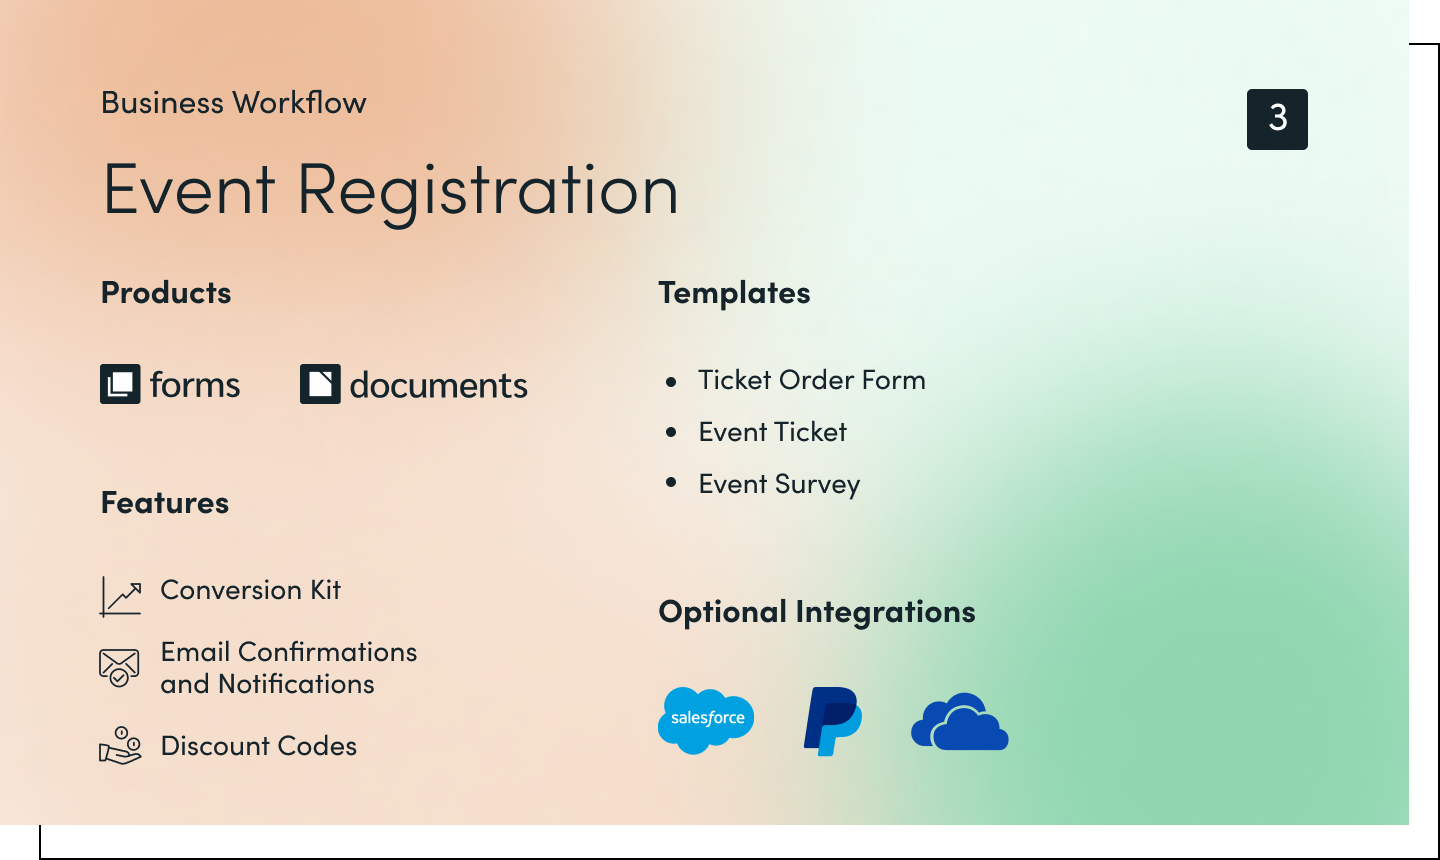
Business events are crucial for meeting new prospects and gaining new customers. Make the registration process easier, more efficient, and repeatable on your team with a workflow that also impresses attendees. Use this event registration workflow to quickly gather the information you need from registrants, accept payments, generate tickets, automate emails to registered guests, and follow up with an event survey.
Products: Forms · Documents
Features: Conversion Kit · Email Confirmations and Notifications · Discount Codes
Templates: Ticket Order Form · Event Ticket · Event Survey
Optional Integrations: Salesforce · PayPal · OneDrive
Step 1: Event Registration and Payment
Give customers an online registration form to quickly sign up for upcoming events. Enable discount codes, add event fields for different ticket types, and embed your preferred payment processor to securely collect payments. Add Conversion Kit to access important conversion data that can help you fine-tune your form for maximum registrations. It’s easy to keep your event planner in the loop through data routing to send them registrations as they’re submitted.
Workflow Tip: The event field makes it easy to regulate ticket sales. Once a ticket type sells out, automatically display a “sold out” message or offer a waitlist option.
Step 2: Ticket Delivery
Connect your form to Formstack Documents to automatically generate event tickets for attendees. Easily update the ticket template to match your company’s branding and event theme. You can even create sponsorship opportunities by adding spaces for logos. Email newly generated tickets to attendees immediately, and store copies for your records in your CRM or cloud storage app.
Step 3: Email Notifications and Survey
Set up automated email notifications in just a few clicks. No need to export lists or integrate with your email system. Registrants will appreciate a confirmation email upon registration, as well as a reminder the day before the event. You can also send an email the day after the event with a link to your event survey to collect important feedback.
#4 Non-Disclosure Agreements
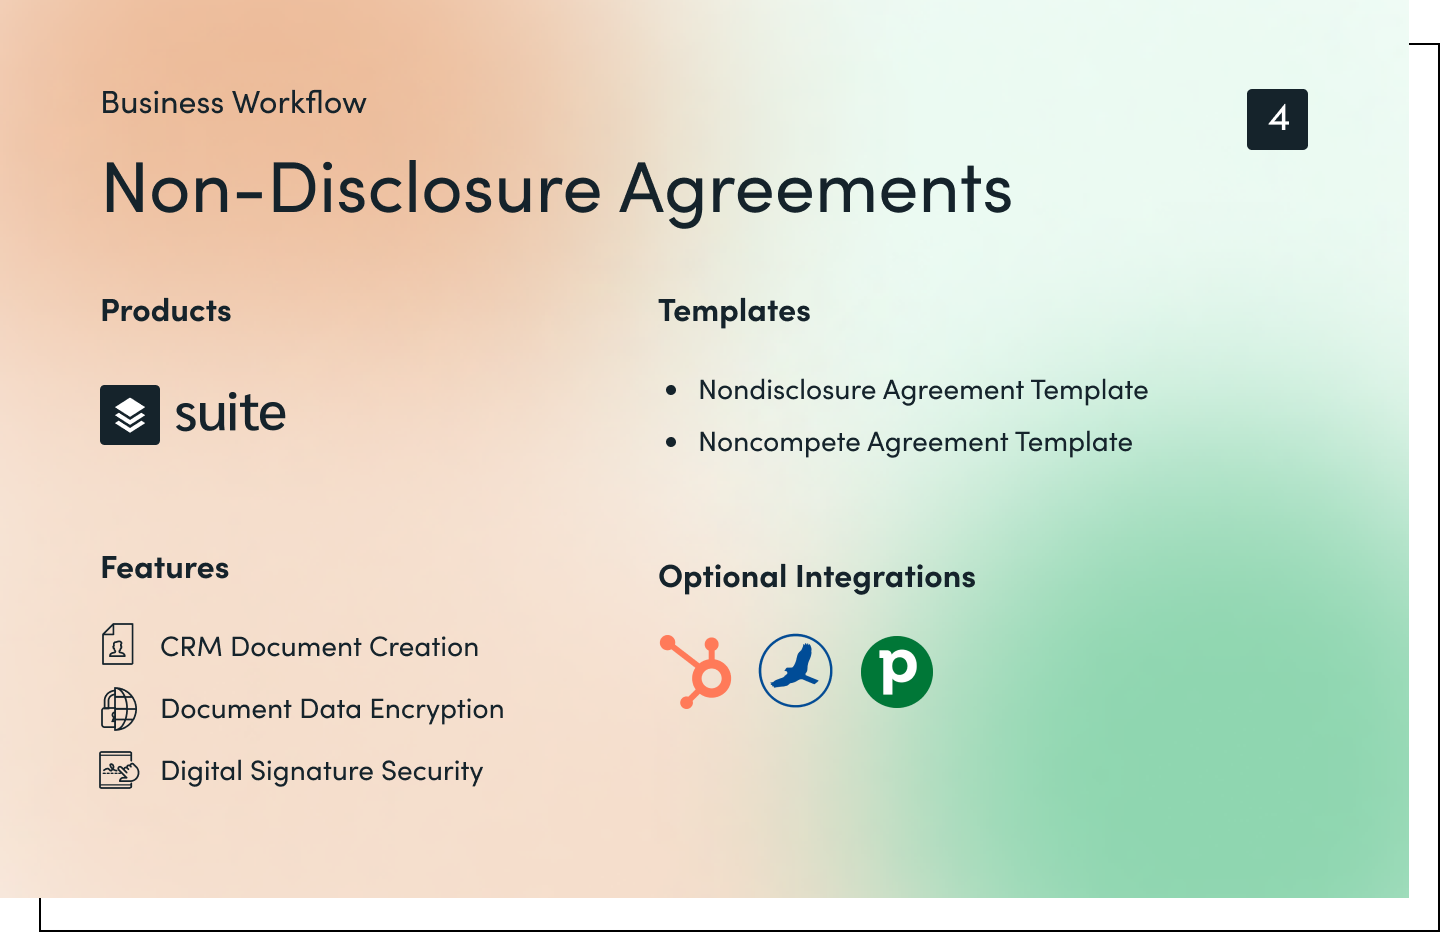
Keeping sensitive data confidential is a necessary part of doing business. When forming new partnerships, securing new customers, or hiring employees, nondisclosure agreements play an important role in protecting your organization’s most important assets. Yet, creating ironclad NDAs can be incredibly time-consuming and cumbersome. Automate the entire process, from data collection and agreement creation to document signing and storage, with this nondisclosure agreement workflow.
Products: Suite
Features: CRM Document Creation · Document Data Encryption · Digital Signature Security
Templates: Nondisclosure Agreement Template · Noncompete Agreement Template
Optional Integrations: HubSpot · HawkSoft · Pipedrive
Step 1: NDA Creation
Use a secure online form to gather the new employee, partner, or client information needed to generate the agreement. If most of this data already exists in your CRM, you can easily connect Formstack Documents to dozens of CRMs like HubSpot or Salesforce to seamlessly pass data into your nondisclosure agreement. Or, use the Documents API to pull in data from other systems like a legal management platform. Use conditional sections to automate agreement creation and adjust terms as necessary depending on the submitted data.

Step 2: Agreement Signing
Advanced document security ensures your agreements are protected from the moment they’re created. Use Formstack Sign to securely gather eSignatures from anywhere, or have customers and partners sign documents in person if they prefer. Your legal and compliance teams will appreciate the comprehensive electronic signature audit trail that logs all activity for each document. You can also create a signature workflow if multiple people need to sign the agreement.
Workflow Tip: Formstack Sign not only makes it easy to automate the eSignature process; it allows you to personalize notifications to end users as well.
Step 3: Document Sharing and Storage
If you want document signers to take a particular action, you can use signer redirection and Referrals to guide them to a particular web page. Integrate Documents with your cloud storage platform of choice to store the finalized NDA upon completion. Each signer will also receive a copy. If you need to combine multiple documents as part of onboarding, use data routing to easily package the documents together.
#5 Donation Management
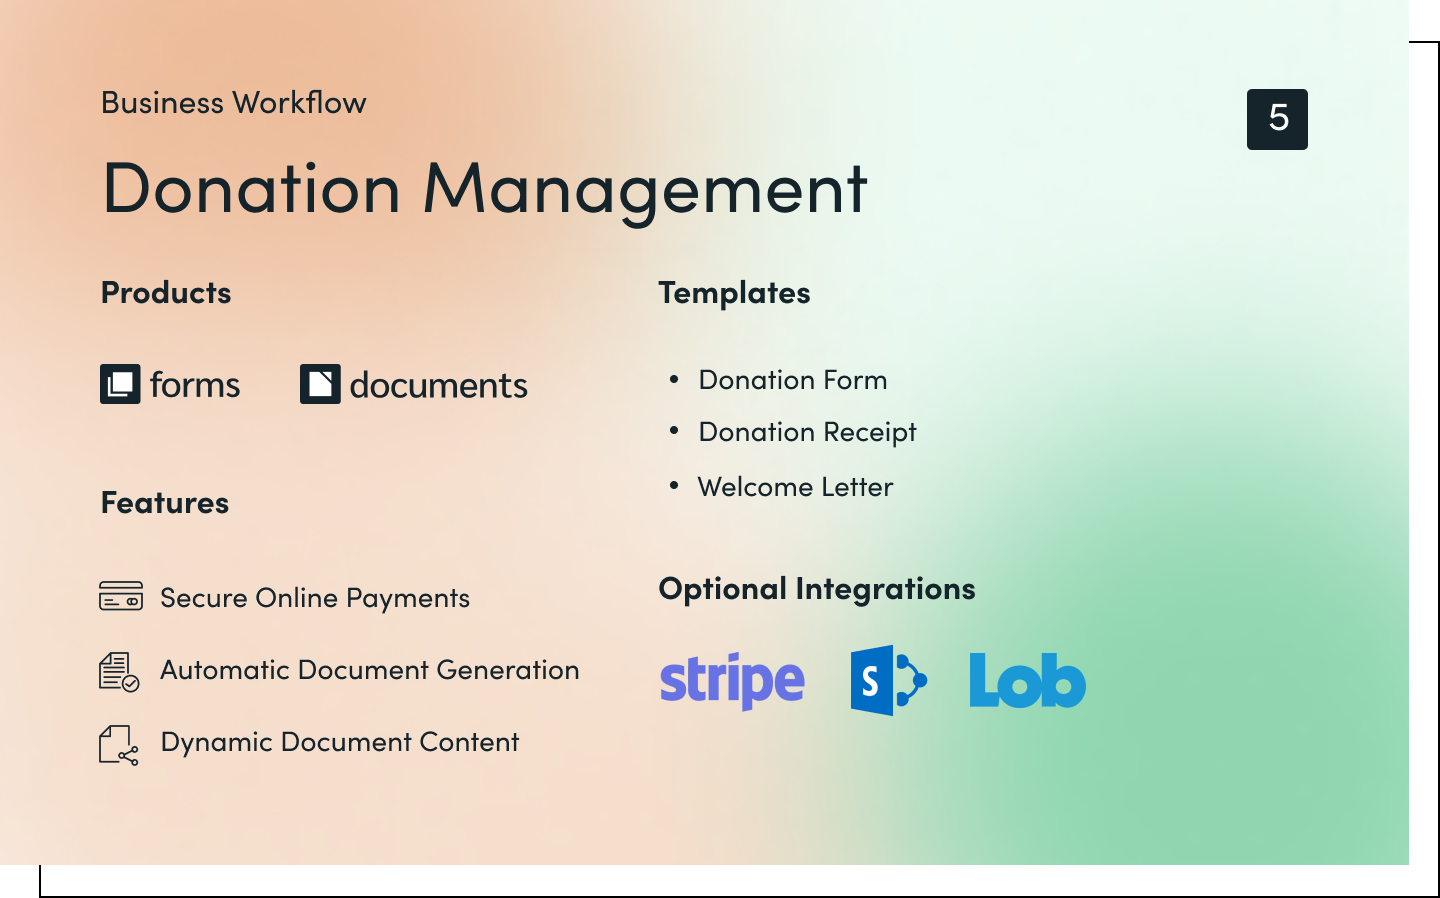
If you’re a nonprofit, Formstack can help you with more than forms, documents, and signatures. Securely accept online donations with branded forms and automatically generate donor documentation, receipts, and thank yous. Give your team more time to focus on donors by automating everything from donation collection and receipt production to personalized letters and donor follow-up.
Products: Forms · Documents
Features: Secure Online Payments · Automatic Document Generation · Dynamic Document Content
Templates: Donation Form · Donation Receipt · Welcome Letter
Optional Integrations: Stripe · SharePoint · Lob
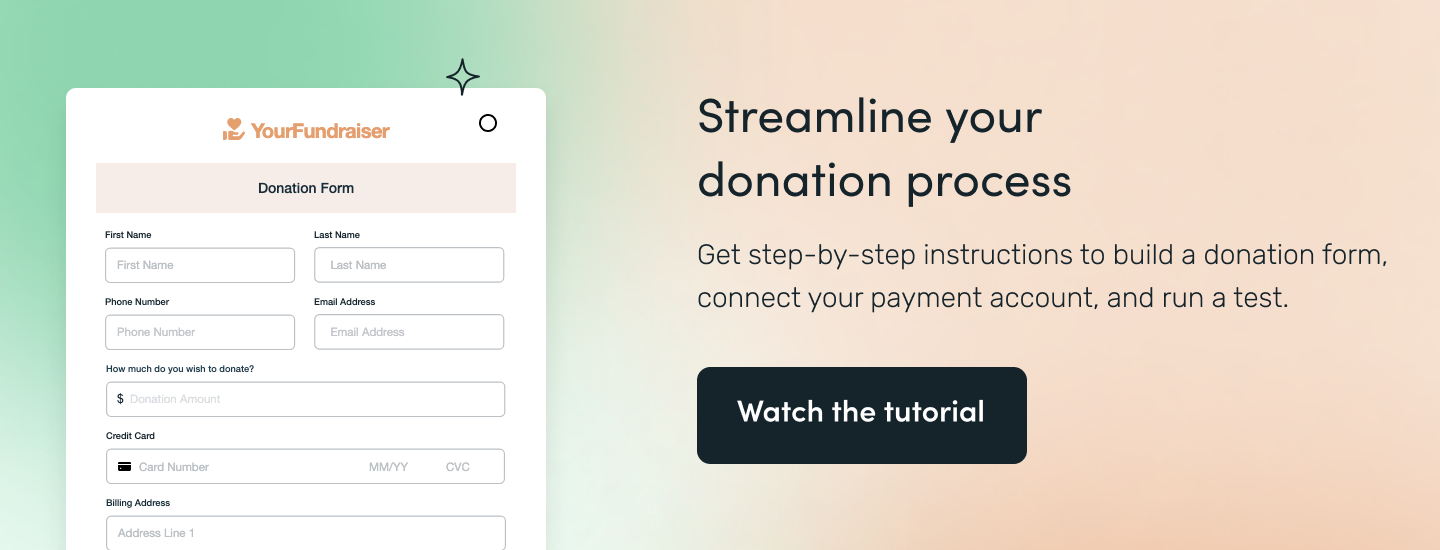
Step 1: Secure Online Donation
Give donors the ability to quickly, easily, and securely submit donations to your nonprofit or foundation through a mobile-friendly online form. Choose from a variety of payment options, and rest assured that donations are captured safely with PCI compliant forms. Create multiple versions of your standard donation form, or use Smart Lists to manage field options, such as program or donation level, across multiple forms.
Step 2: Donation Receipt Delivery
Within minutes, donors will receive a clear, concise, and personalized donation receipt straight to their inbox. Once this document automation is set, you can simply let it run in the background without any manual data entry or manipulation. Every time a donation form is submitted, the receipt generation will run automatically. If you use a CRM like Salesforce, you could also set the donation tax receipt to generate using data from your CRM.
Workflow Tip: Use Stripe to set up a powerful donation workflow that includes PCI and HIPAA security features.
Step 3: Thank You Letter and Follow-Up
When you receive a donation, automatically send a customized thank you letter in the same week using dynamic content pulled from the data in the form. Easily manage mailings with an integration like Lob, which can automate printing, mailing, and tracking of personalized donation letters. Send donor documentation to your external storage or CRM, giving your donor engagement team easy access to donor records for future use. At the end of the year, use advanced data routing to compile an annual donor packet without the hassle of manually finding each piece of information.
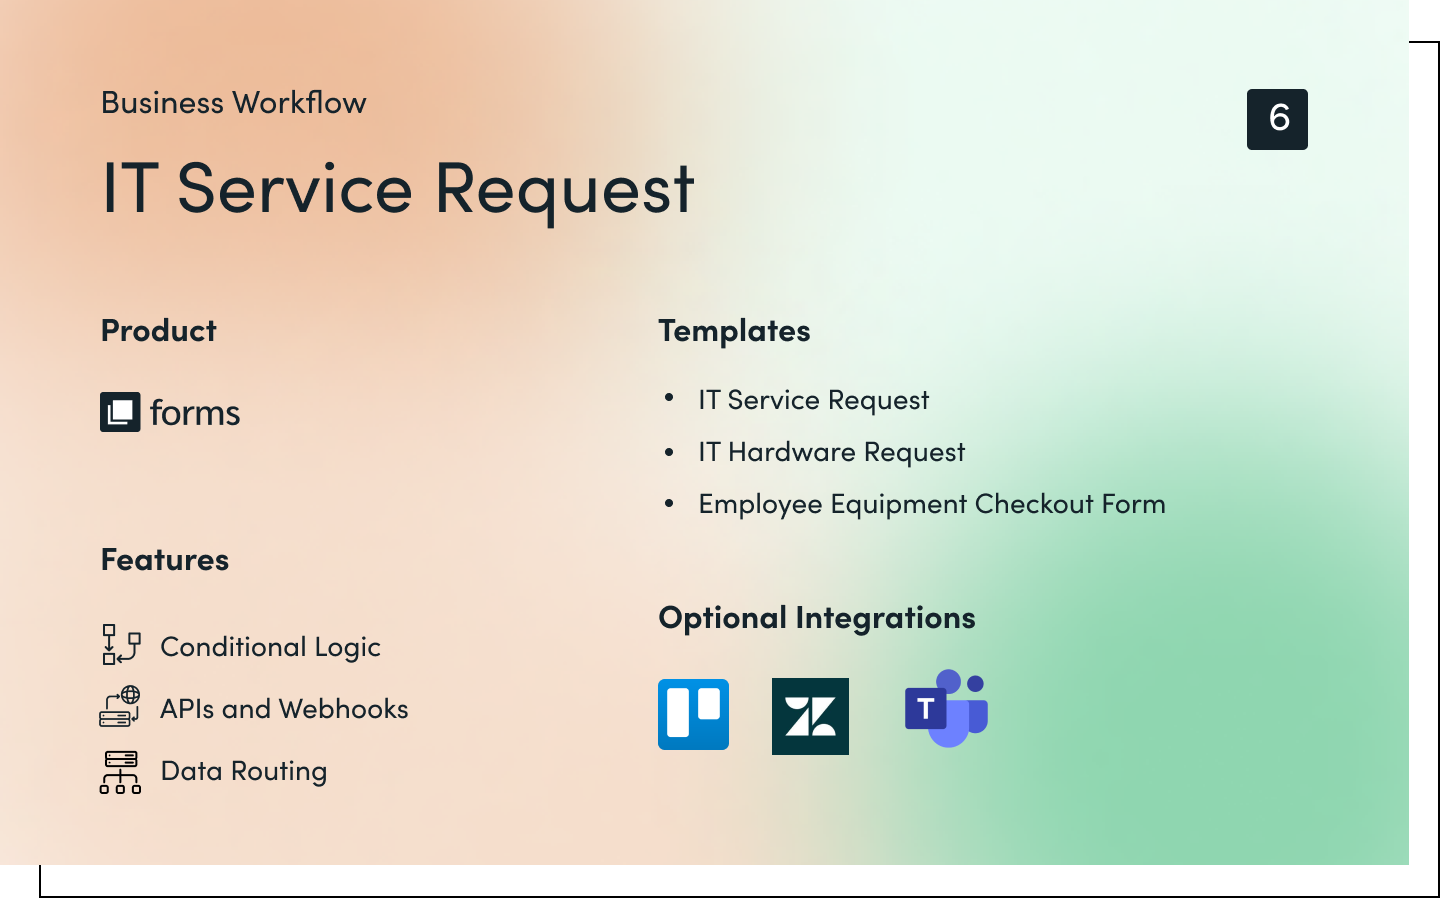
#6 IT Service Request
Nothing can slow down business like an IT issue. Ensure employee IT needs are addressed quickly and appropriately by creating a robust IT service request process. Easily collect requests, assign them to the appropriate team member, and track completions in Formstack or your project management tool of choice. Your IT team will appreciate the single point of data capture, and employees will be pleased by the speed at which their requests are processed.
Product: Forms
Features: Conditional Logic · APIs and Webhooks · Data Routing
Templates: IT Service Request · IT Hardware Request · Employee Equipment Checkout Form
Optional Integrations: Trello · Zendesk · Microsoft Teams
Step 1: IT Service Request
Use Conditional Logic to build out a master IT service request form that branches into multiple scenarios, covering everything from equipment rentals and password resets to computer repairs and software assistance. If you choose to build out separate forms, use Smart Lists to quickly manage long, evolving lists of field options across all of your forms. Employees can quickly submit the request form from a phone, tablet, or computer.
Step 2: Data Routing and Job Assignment
Immediately upon form completion, submitters will receive an automated email notification with their case number, IT rep, and expected service timeline. Add these to your automated emails by inserting hidden fields into the form that autofill based on logic and calculations. Data Routing will then send the form data to the employee responsible for the type of help requested. If your team uses help desk software to track IT requests, connect it through one of our native integrations or by using the Forms APIs and Webhooks.

Step 3: Request Completion
Use multi-step Approvals to allow IT reps to approve requests when completed and send the data to their manager or department head for final sign-off if needed. Logic and skip functions can easily be added to customize each approval sequence based on request requirements. For example, issuing a new laptop to an employee may require multiple levels of approval within IT or finance. Upon final approval and form submission, the requestor will receive any necessary follow-up in an automated message.
Workflow Tip: This is just one way you can streamline IT processes at your organization. Discover other easy ways to raise the bar on IT ops with task automation.
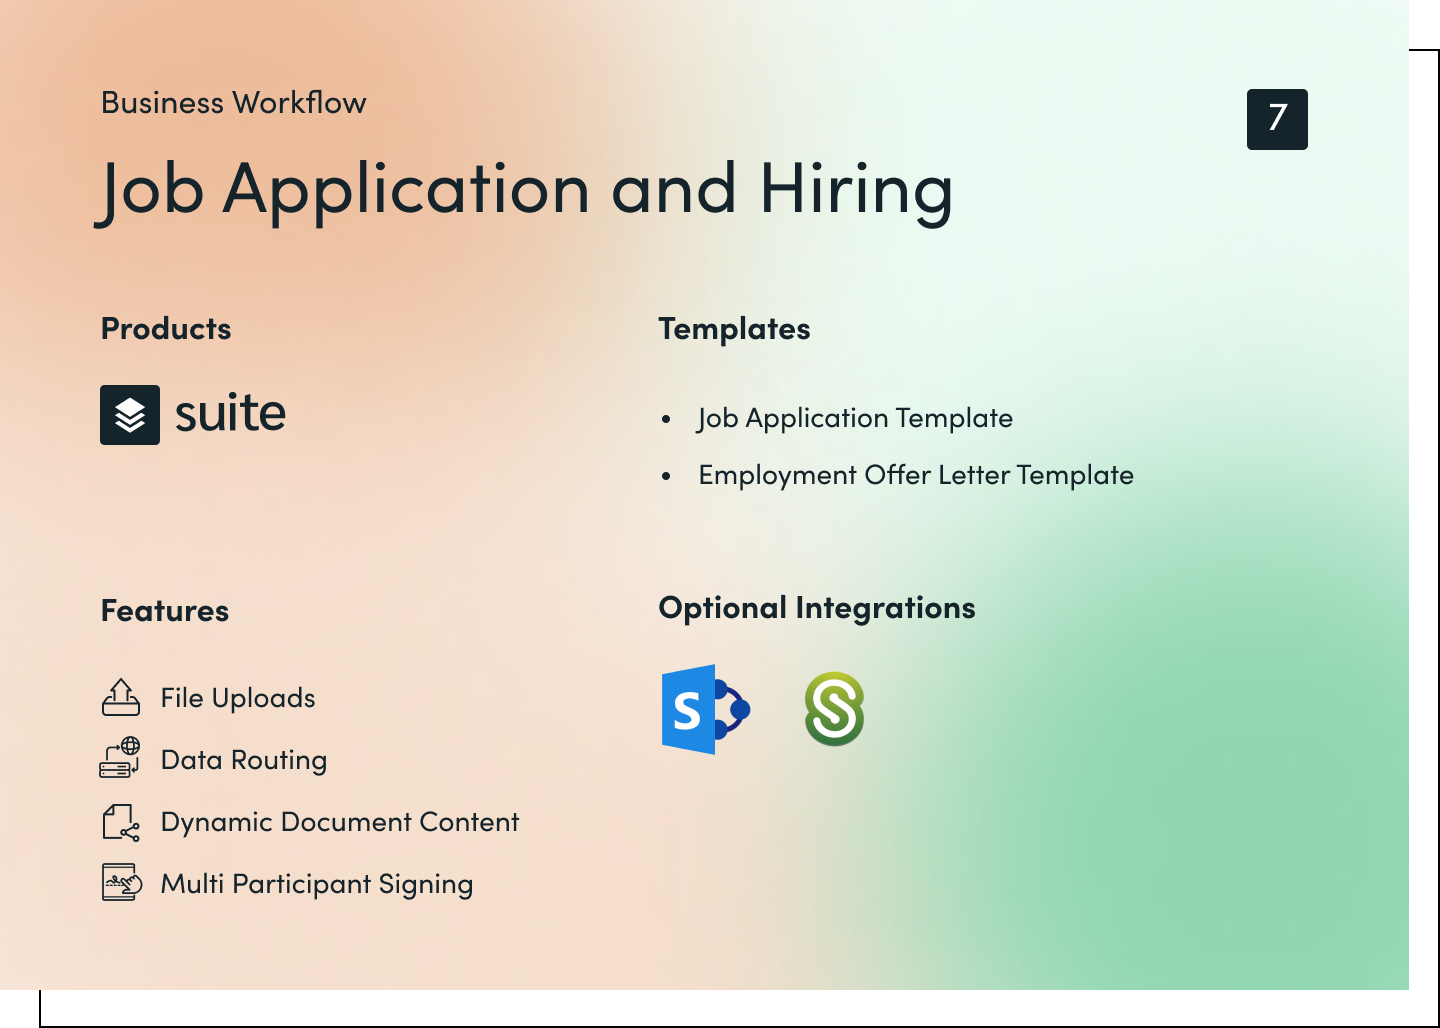
#7 Job Application and Hiring
Talented employees are crucial to keeping your business operating smoothly. But the process of hiring them can be long and complex. Ensure every applicant has a great experience by automating your hiring workflow. Easily collect applications, schedule interviews, review applicant data, and send out offer letters through one completely digital workflow. Your team can access all applicant information from a single source, control communications, and automatically alert applicants with status updates.
Products: Suite
Features: File Uploads · Data Routing · Dynamic Document Content · Multi Participant Signing
Templates: Job Application Template · Employment Offer Letter Template
Optional Integrations: Microsoft SharePoint · ShareFile
Step 1: Job Application
Start with our job application template and customize with your logo, mission statement, and other branded items. Use Smart Lists to manage evolving lists, such as job openings, locations, and departments. Securely collect files like resumes, transcripts, and driver's licenses with File Uploads, and add the Save and Resume feature to allow applicants to work on their job application over time. Use Email Confirmations and Notifications to automate email messages across applicants, the HR team, and hiring managers upon form completion.
Step 2: Candidate Selection
By adding a workflow to your form, you can assign team members for each interview and collect their feedback within a single form. Recruiters or hiring managers can choose to move an applicant forward or not, which then sends the appropriate messages automatically. Emails are sent within seconds of data submission, ensuring applicants are kept in the loop about where they are in the process.
Workflow Tip: You can duplicate this workflow and tweak it as necessary for other types of hiring workflows, such as internships or short-term contracts.
Step 3: Employment Offer Letter
Once an applicant is selected for a role, you can automatically generate an employment offer letter with Documents. Use Dynamic Document Content to adjust contract terms, role information, benefits, and other details based on data collected from the job application form. Send the final document through Sign using Multiple Participant Workflows to gather signatures from the new employee, HR team, and hiring manager. Upon employee signing, easily redirect them to a welcome message or new employee section of your website.

Bonus: Forget the days of tracking new employee form completion through a spreadsheet. Formstack’s Portals tool is an intuitive web portal system that acts as an easily accessible hub for your forms. Set automated reminders, track completions, and provide employees a one-stop shop for their entire onboarding experience.
#8 Customer Feedback
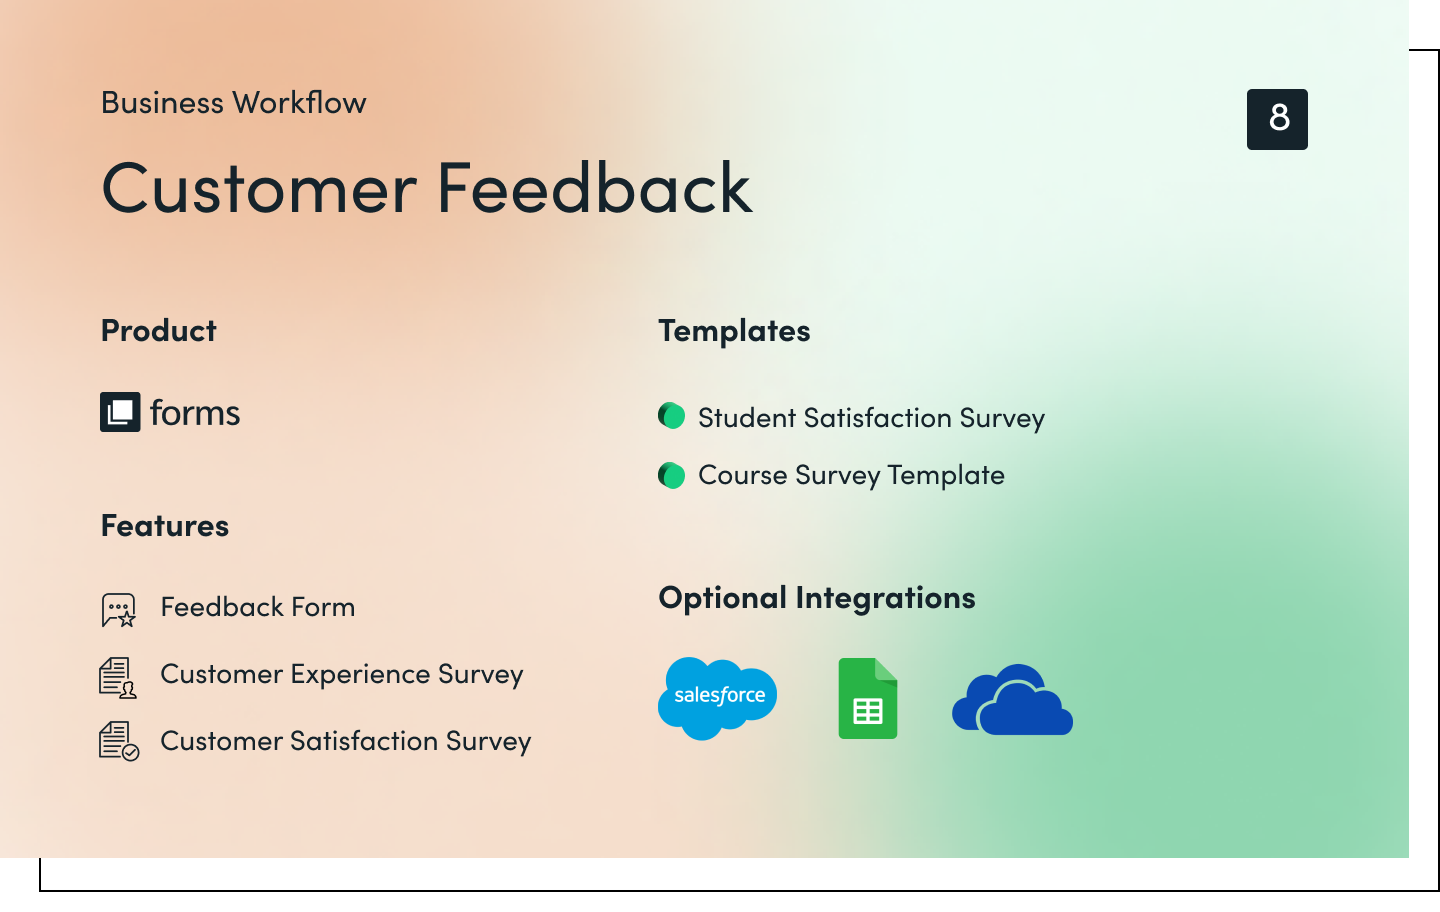
Gathering customer feedback is an essential part of improving your business. It’s one of the only ways to know for sure if you’re meeting customer expectations. Yet, many organizations don’t capture feedback on a regular basis. Or, they use a process that makes it difficult for customers to provide input quickly and effectively. With this automated workflow, you’ll be able to not only collect more feedback, but respond to it quickly to address customer needs, desires, and concerns.
Product: Forms
Features: Portals · Partial Submissions · Mobile-Friendly Forms · Field Prefill
Templates: Feedback Form · Customer Experience Survey · Customer Satisfaction Survey
Optional Integrations: Salesforce · Google Sheets · OneDrive
Step 1: Customer Feedback Collection
Offer multiple opportunities to provide their feedback throughout the customer journey. Build a branded, mobile-friendly feedback form that’s linked in the footer of your website and embedded on your contact page. Use the Rating Field to create a simple survey to quickly and easily calculate your Net Promoter Score (NPS) or measure customer satisfaction. Add Field Prefill to improve the form filling experience for customers by auto-populating common information like their name and email.

Step 2: Data Routing and Responses
Once you have customers’ feedback, send it to the right department(s) for awareness and follow-up with Routing Logic. If someone reports an issue with billing, route the data to finance for resolution. When collecting NPS data, trigger an Email Notification to the account rep or customer service department when a low score is submitted. Then, ensure customers feel heard by automating personalized responses based on their feedback.
Step 3: Feedback Sharing and Storage
Access all the customer feedback you’ve gathered over time from one location, making it easy to chart trends and look back at historic data. You can analyze the data on the backend, export to Excel, or integrate with tools like Google Sheets for further analysis. Use Advanced PDFs to create official feedback records to upload into cloud storage, or integrate forms with tools and platforms you use everyday like Salesforce.
Workflow Tip: Salesforce Flow and Formstack for Salesforce are both powerful tools, but they each have their place. Know the differences and what to use when.
Automate Your Business Workflows for Company-Wide Results
Don’t let inefficient processes burn out your employees and deter customers. By investing in business process automation, you can build repeatable, efficient systems that improve employee morale, impress customers, and save your organization time and money.
Ready to take your workflows to the next level? Our visual workflow builder makes it simple to create, test, and launch any process your business may need. Get started now with a 14-day free trial or talkt with one of our workflow consultants about how to accomplish your goals through workflow automation.